Introduction
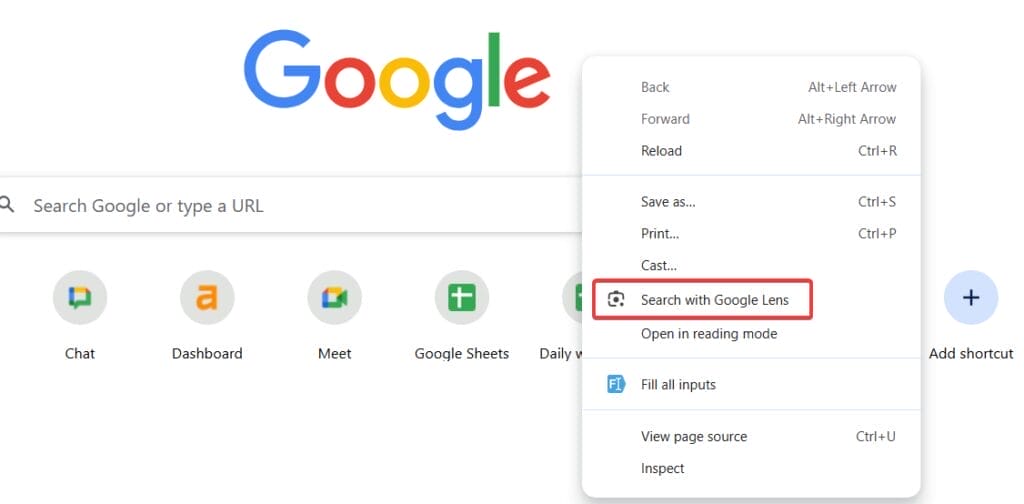
This guide explains how to disable the Google Lens Overlay. The new Google Lens overlay in Chrome enhances the way of image search and visual search panel. Google Lens overlay is a Chrome feature that is available in the right-click menu instead of Search Google for image option. When you right-click and choose Search with Google Lens, Chrome opens an overlay that lets you highlight any part of the screen and displays search results in a side panel.
The feature is useful but many users find it distracting and prefer the original image search method. In this situation disabling the feature is necessary. This guide shows you how to turn off the Google Lens overlay and how admins can disable it across managed Chrome browsers in Google Workspace.
What is Google Lens Overlay?
Google Lens overlay is a built-in Chrome feature that is available at the right click menu. It replaces the Search Google for image option with an interactive visual search panel. When you right-click and choose Search with Google Lens, Chrome opens a side panel overlay and provides results based on the selected area.

Why Turn Off Google Lens Overlay
Turning off the Google Lens overlay can help in maintaining a simple image search experience. In schools and work environments, the Lens overlay allows students and employees to bypass image filtering rules. Additionally, it can confuse users who are not familiar, seeing the new interface all of a sudden.
Users may want to experience traditional image searching methods by disabling the Lens overlay. Turning off is necessary to avoid confusion and distractions.
How to Disable the Google Lens Overlay in Chrome
Steps to turn off the Google Lens Overlay
- Go to Google Chrome.
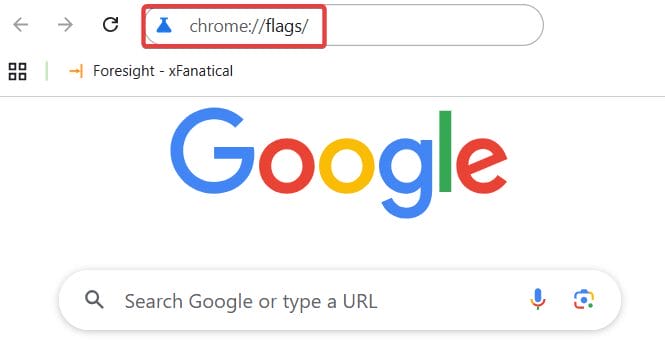
- Type chrome://flags/ in the address bar and press Enter.

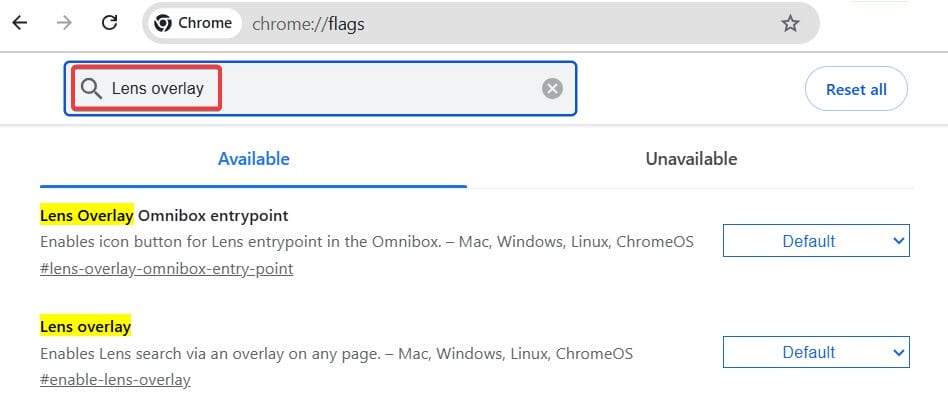
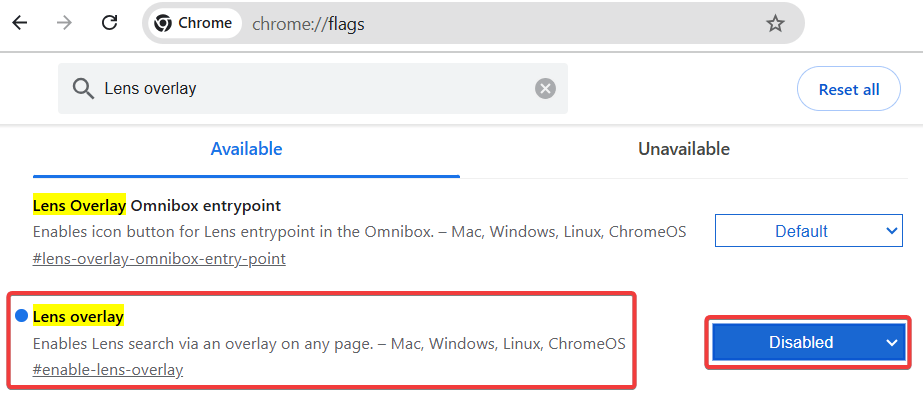
- On the Flags page, in the search box type Lens overlay.

- Look for the Lens Overlay flag and select Disabled from drop-down.

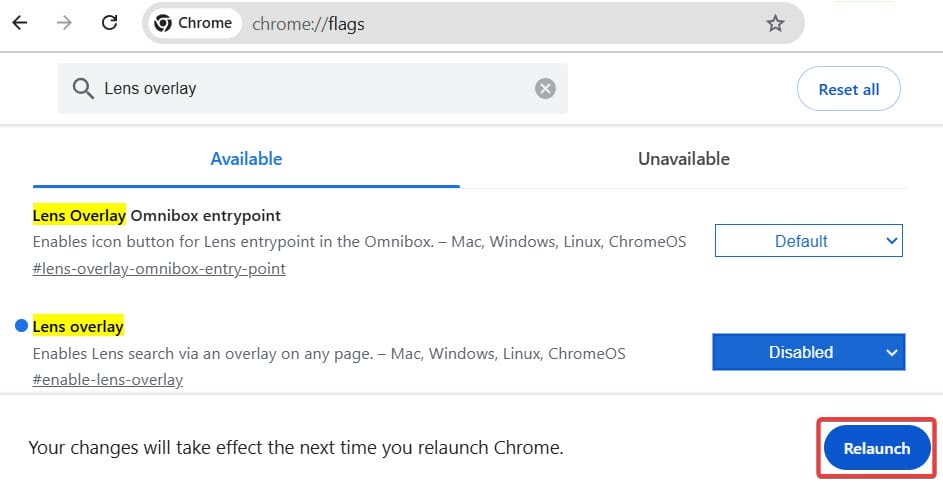
- After selecting Disabled, click the Relaunch button at the bottom-right to restart Chrome and apply the changes.

How to Disable the Google Lens Overlay in Google Admin Console
Steps to Disable Lens Overlay in Google Workspace Admin Console
- Sign in to Google Admin Console using your admin credential.
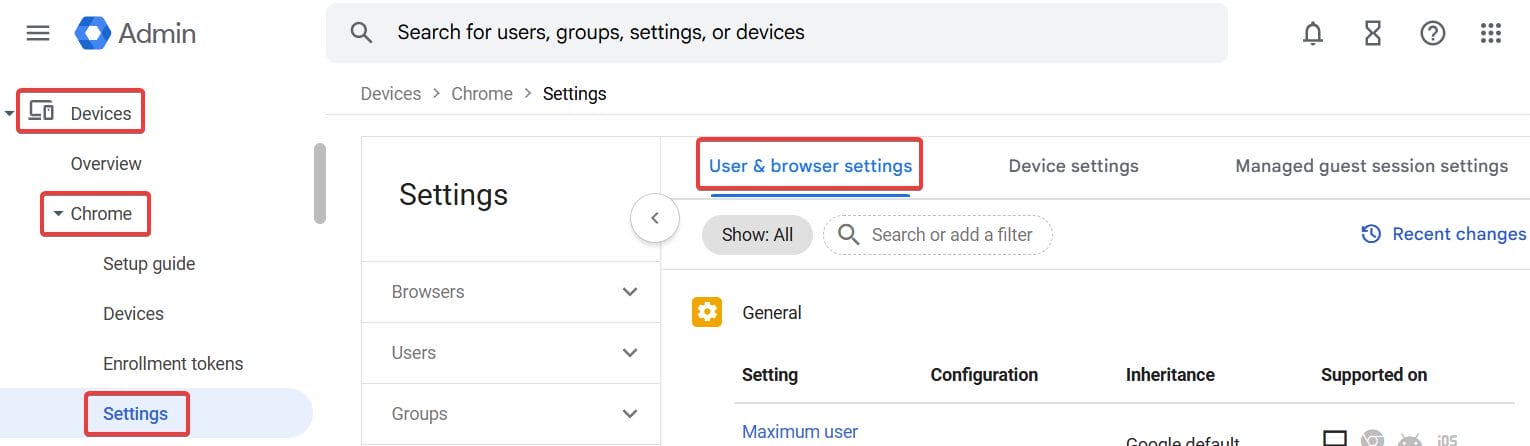
- Go to Devices > Chrome > Settings > Users & browsers.

- Select the Organizational Unit (OU) that contains the user accounts for which you want to disable the Lens overlay.
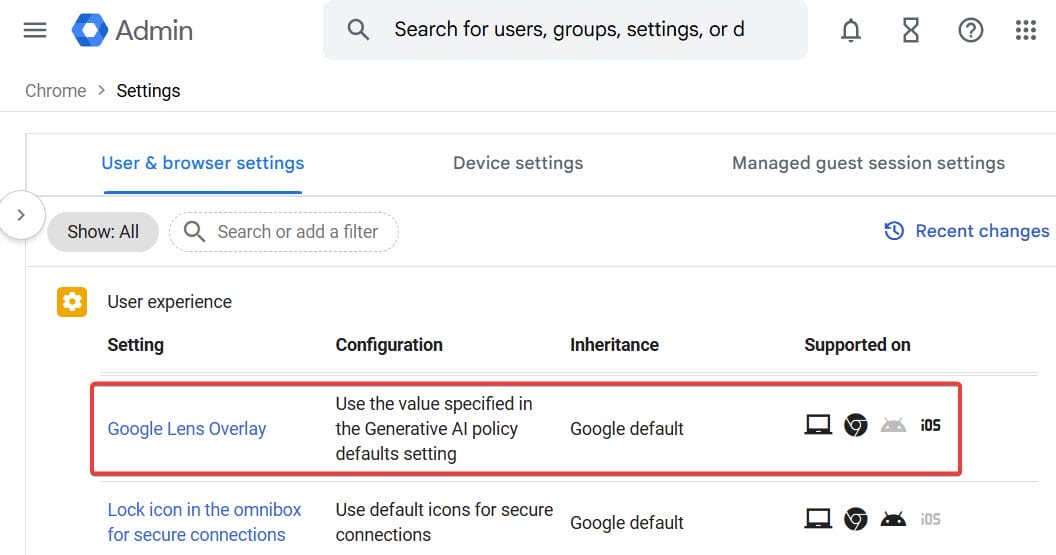
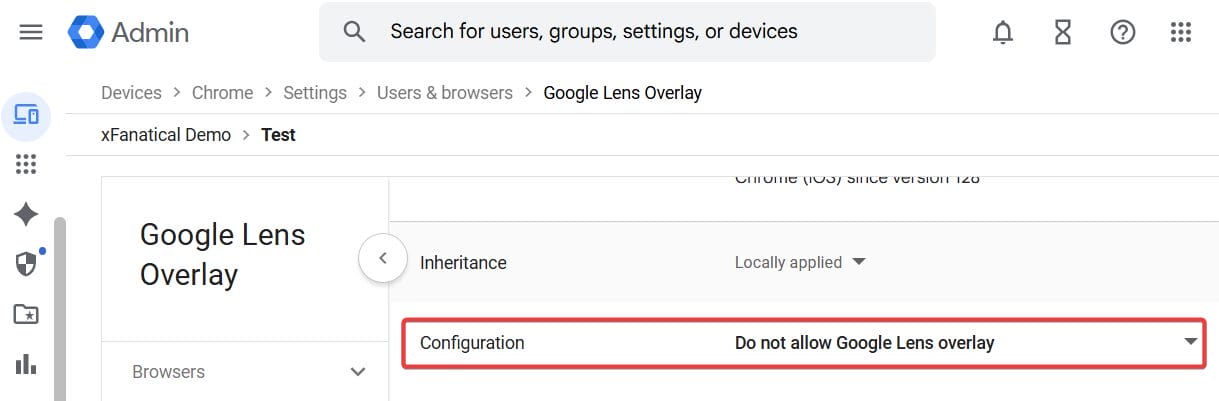
- Scroll down for the Google Lens Overlay policy.

- Set the configuration policy to Do not allow Google Lens overlay.

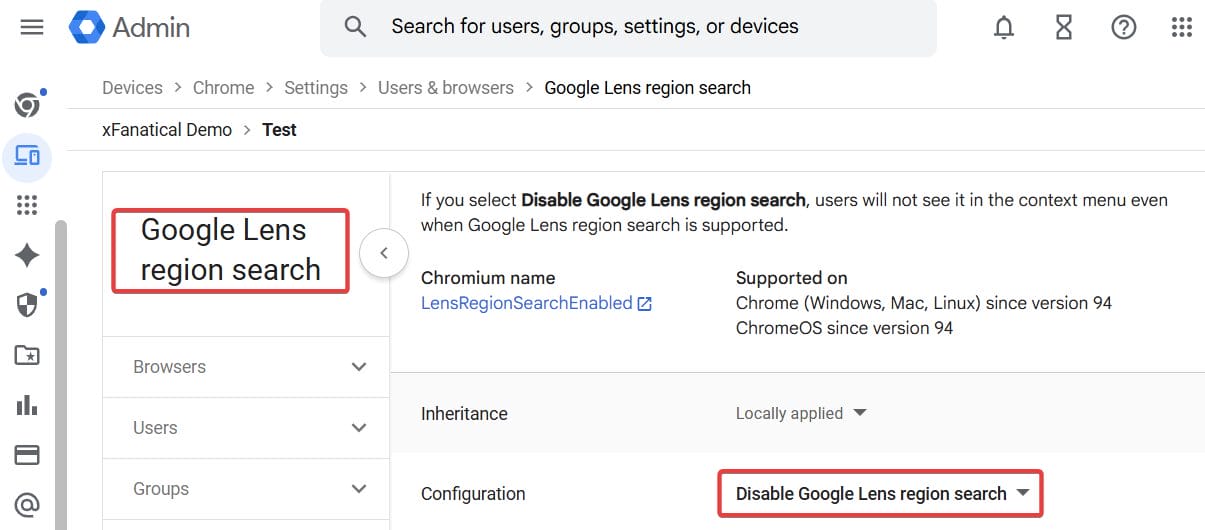
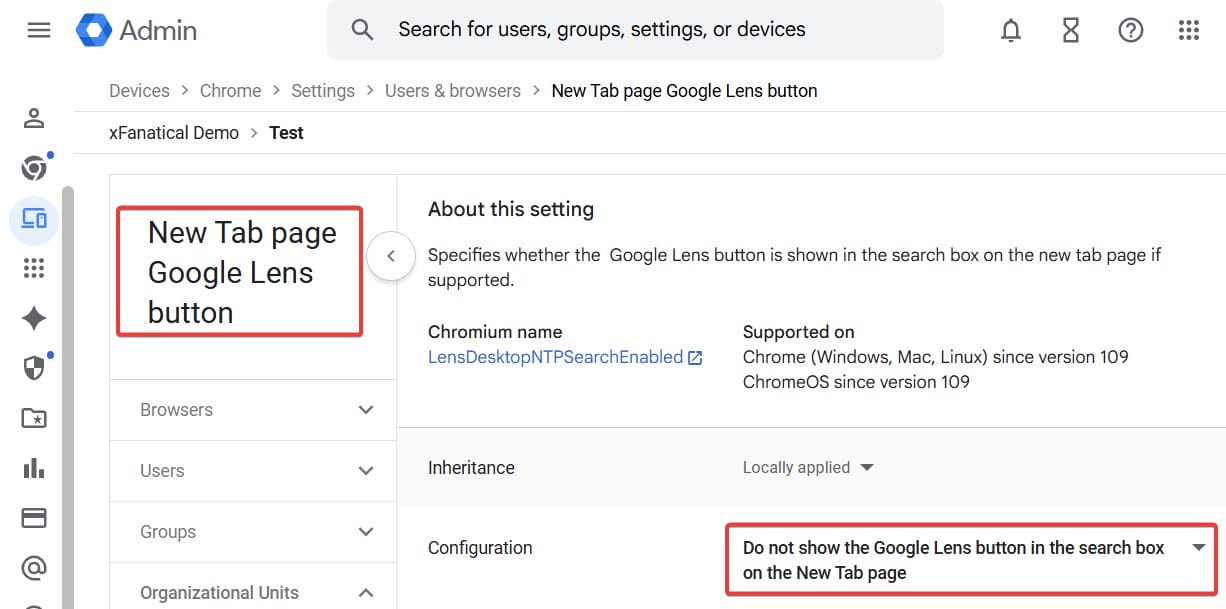
- Optionally, disable related features such as Lens region search and Lens on New Tab page button to completely block the feature.


- Click Save to apply the policy.
- The setting will be pushed to users’ devices in the selected OU, instructing users to restart their browser or device if needed so the change takes effect.
Conclusion
By disabling the Google Lens overlay will help you to restore the traditional image search method and maintain better control over browsing. You will enforce restrictions on bypassing browsing rules by turning off Google Lens overlay through Chrome Flags or the Google Admin Console. By following this article you will know both the methods to disable Google Lens overlay feature.
xFanatical Articles -
- How to Block Students from Using Google Lens Search
- Turning Off AI Overviews in Google Search
- How to Turn off Gemini for Google Workspace?
For more article please visit our website: xFanatical Articles